Skip to content
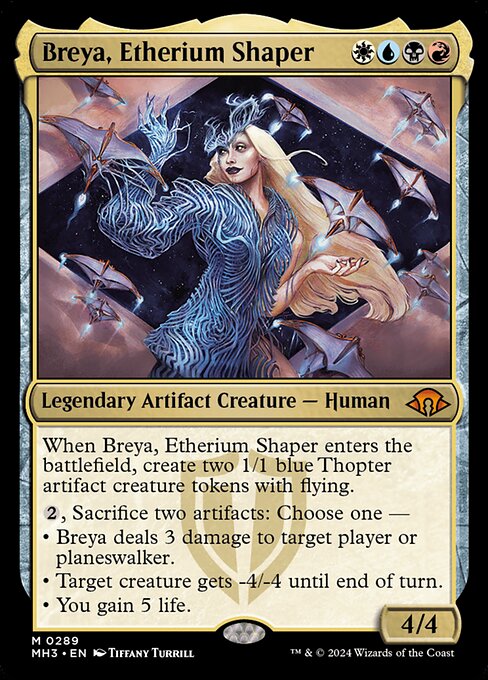
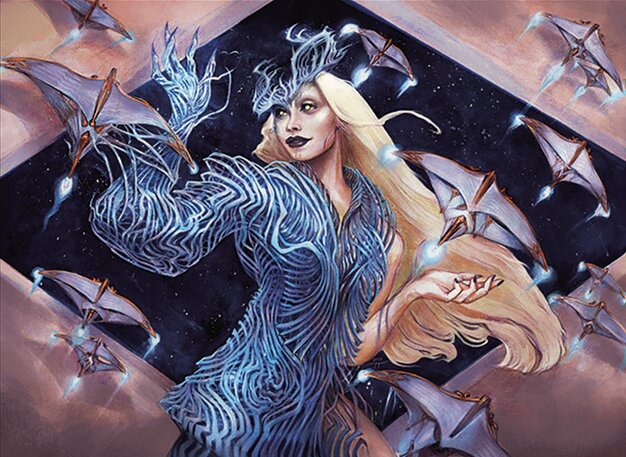
Breya, Etherium Shaper
Art by Tiffany Turrill

Decklist of the Day · Saturday, May 30, 2026

Breya's Artifacts Matter Combo

Breya, Etherium Shaper

WhiteBlueBlackRedArtifacts Matter Combo
Breya, Etherium Shaper

100 cardsWildcards9481920

Decklist

Deck Guide

Why Play This Deck

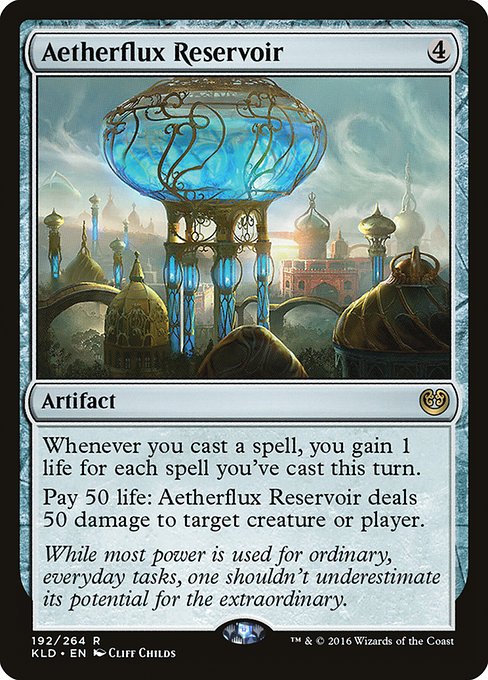
Breya, Etherium Shaper represents the pinnacle of artifact-based combo strategies in Brawl, capable of explosive wins as early as turn 5-6. This optimized build leverages proven infinite combo engines centered around Urza, Lord High Artificer and Aetherflux Reservoir, while maintaining consistent artifact synergies through Sai, Master Thopterist and Jhoira, Weatherlight Captain. The deck excels at converting Breya's immediate Thopter production into overwhelming board presence, then transitioning seamlessly into game-ending combinations. Unlike slower control builds, this version prioritizes velocity and combo density, making it a terror in competitive pods.

Play Summary

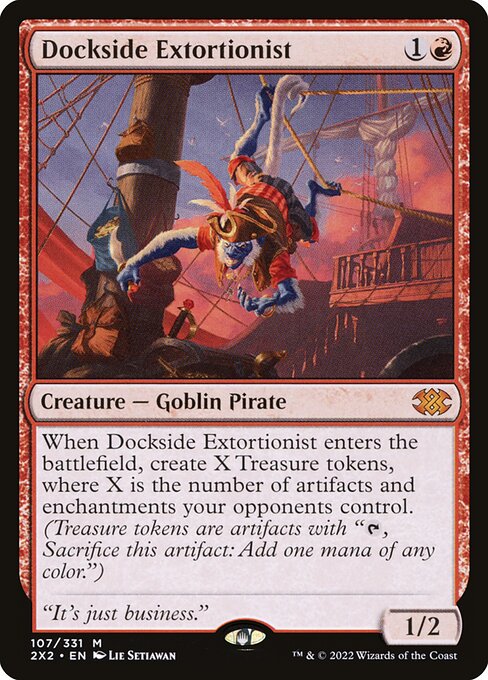
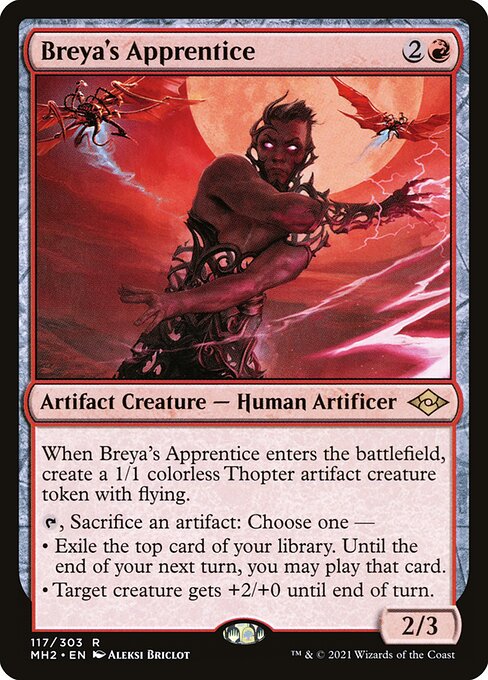
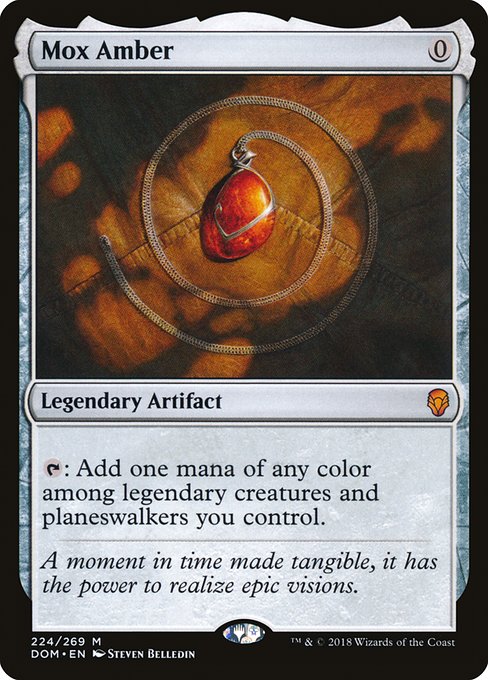
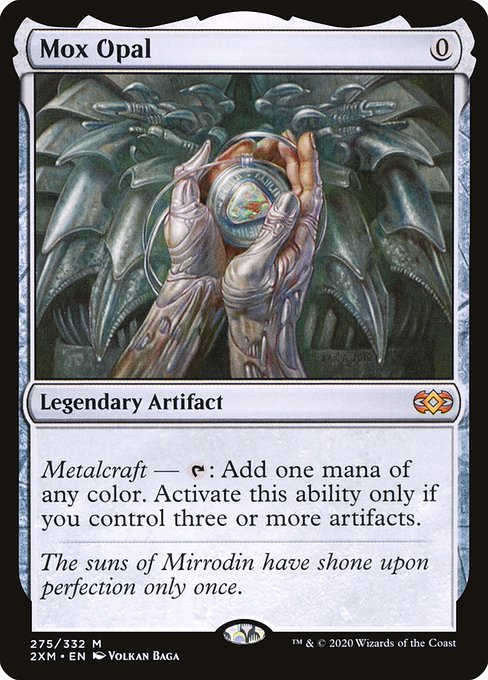
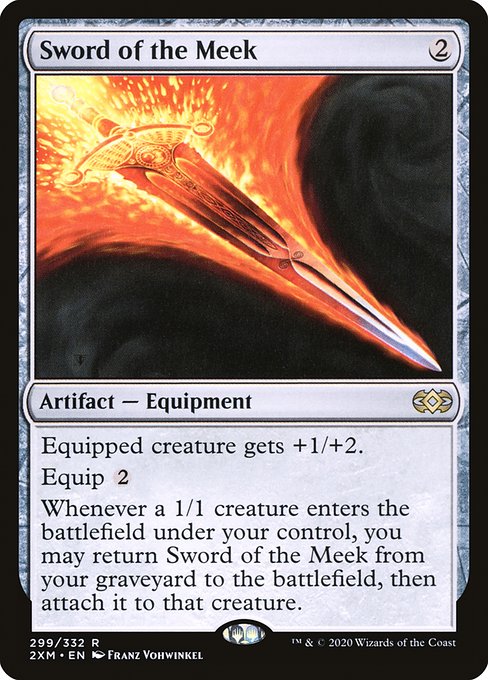
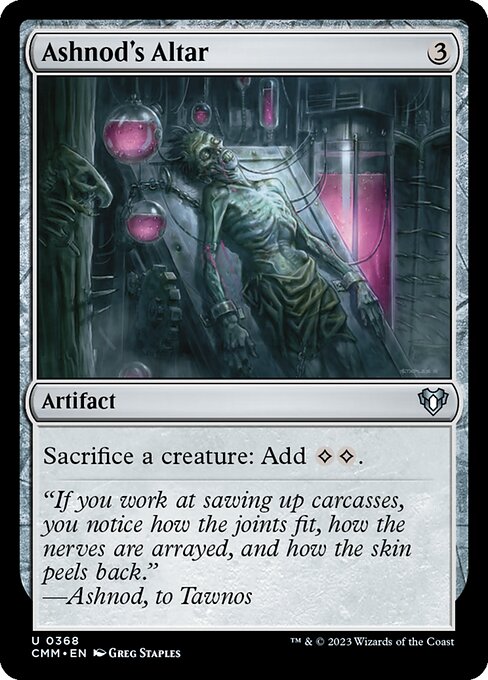
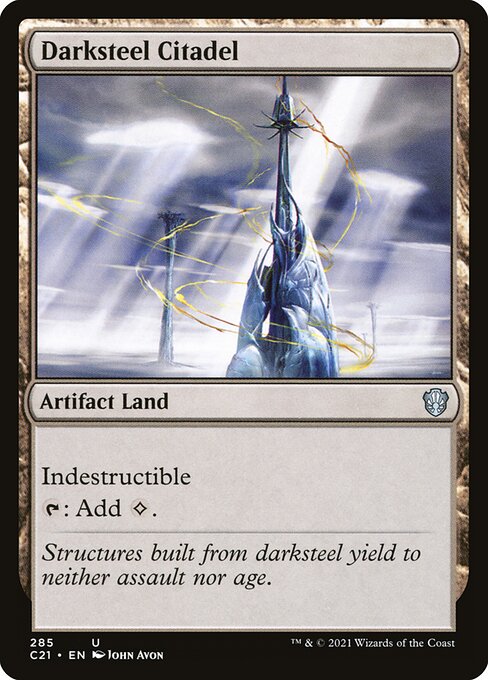
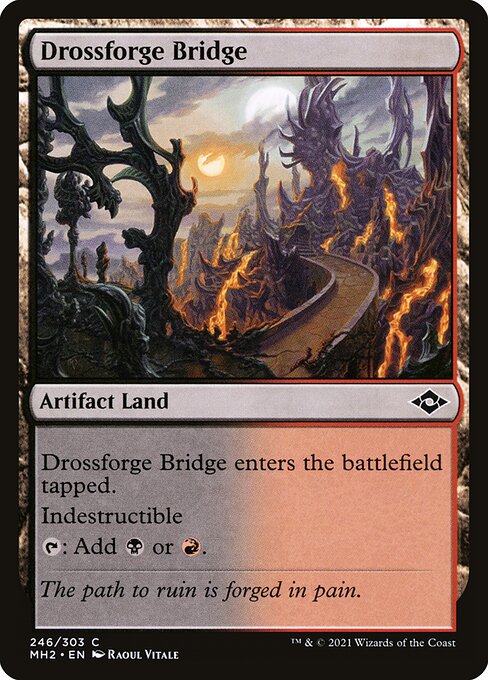
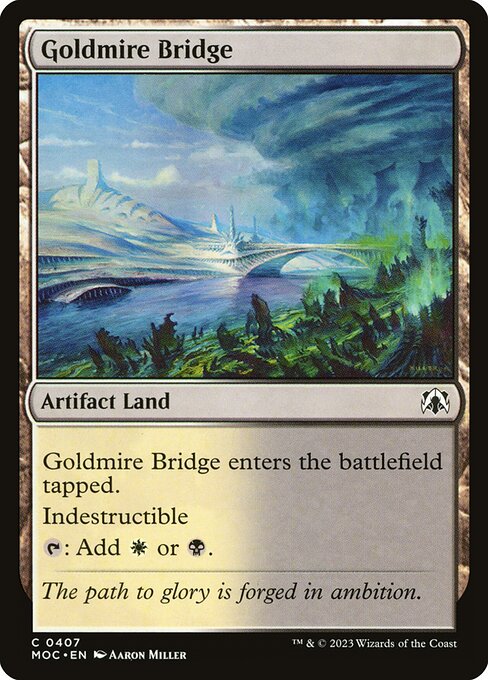
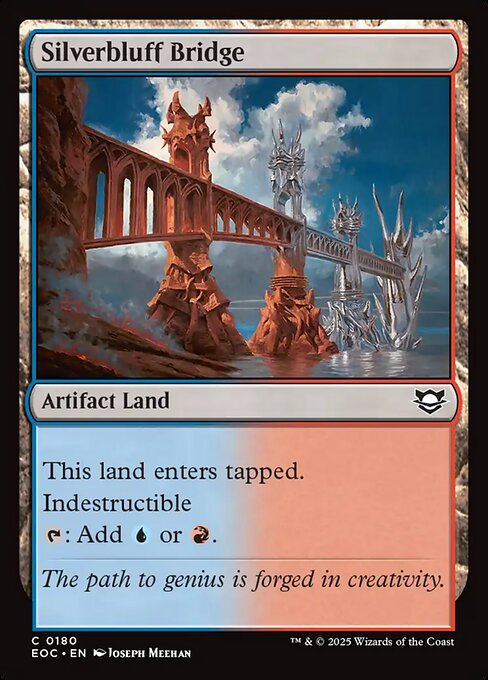
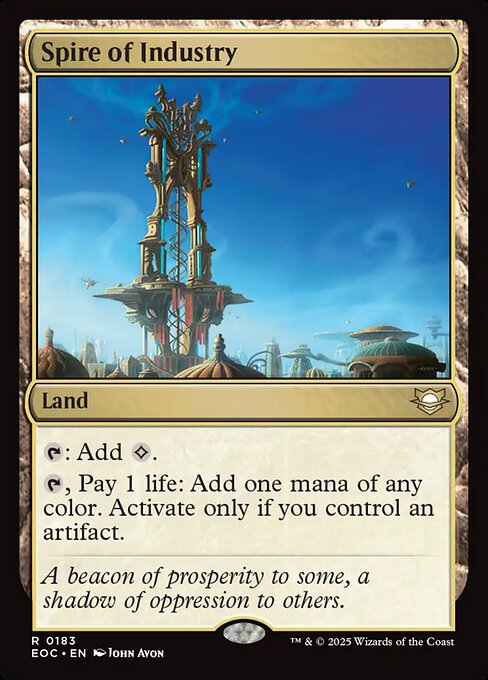
Deploy mana acceleration turns 1-2 with Arcane Signet, Mox Opal, or artifact lands to enable a turn 4 Breya. Use Breya's ETB Thopters as immediate sacrifice fodder for Ashnod's Altar or card draw engines like Deadly Dispute. The primary gameplan revolves around assembling Urza, Lord High Artificer for infinite mana generation, then converting that into lethal damage through Aetherflux Reservoir. Secondary win conditions include Sword of the Meek recursion loops with sacrifice outlets, or overwhelming combat damage through artifact creature synergies. Dockside Extortionist provides explosive ramp while creating additional sacrifice fodder for your engines.

Key Synergies

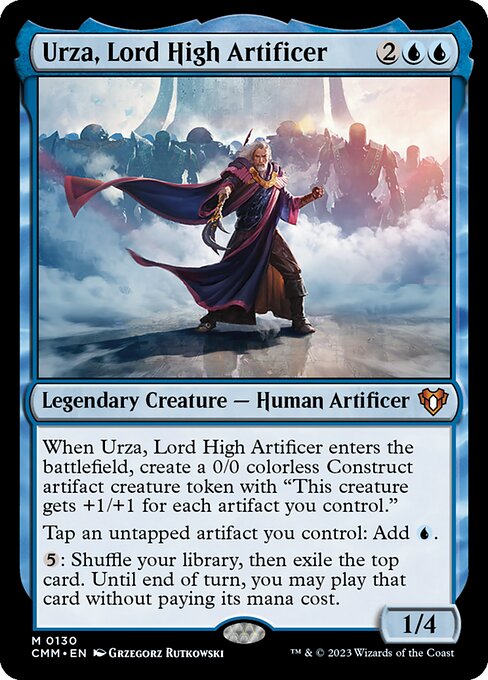
Urza enables infinite mana by tapping artifacts for mana, using that mana to cast more artifacts, then sacrificing them to Ashnod's Altar for even more mana. Once you have infinite mana and artifact casts, Aetherflux Reservoir gains massive life and can deal 50+ damage to eliminate all opponents.

Sacrifice Breya's Thopters to Ashnod's Altar for mana, use Breya's activated ability to create more artifacts, triggering Sword of the Meek's return to hand. Recast Sword and repeat for incremental advantage, or combine with other artifacts for infinite loops.

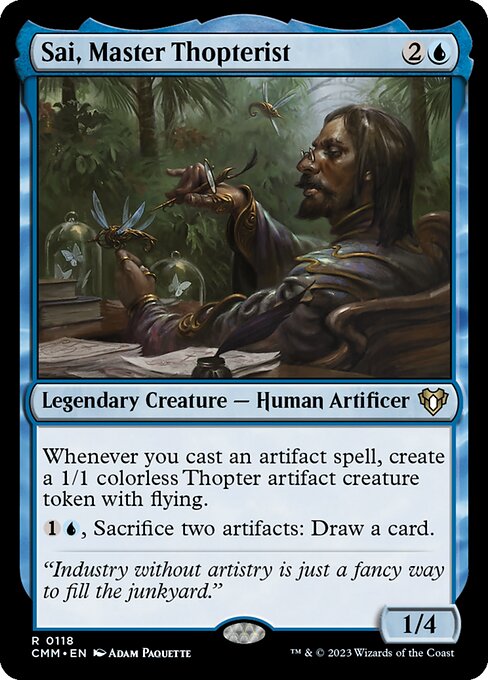
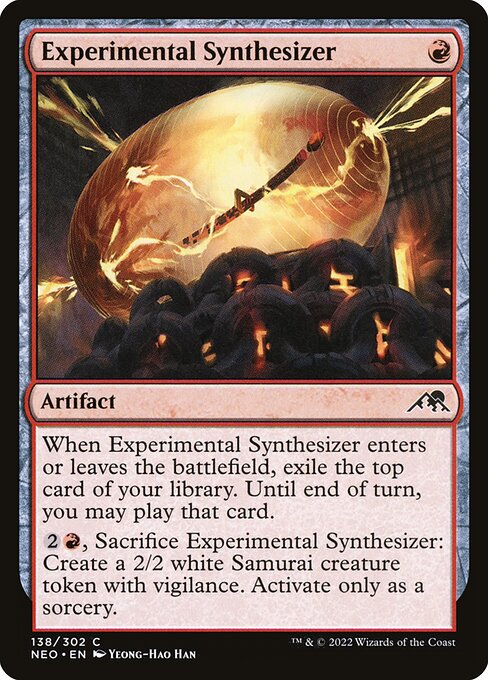
Every artifact cast draws a card from Jhoira and creates a Thopter from Sai, building overwhelming board presence while refilling your hand. Experimental Synthesizer provides cheap artifact casts to trigger both engines while offering card selection.

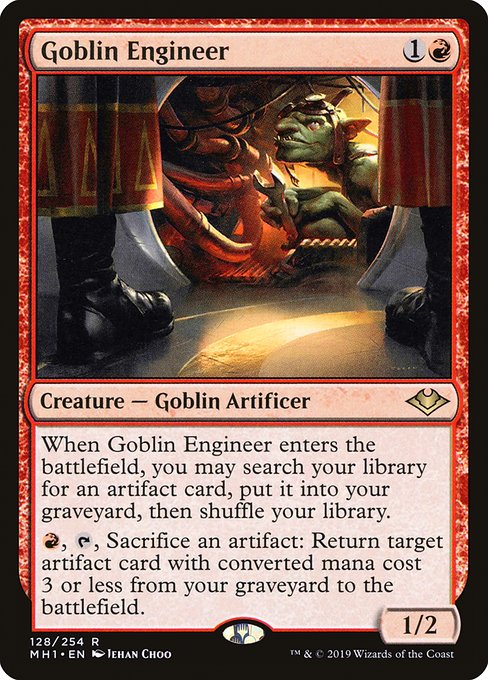
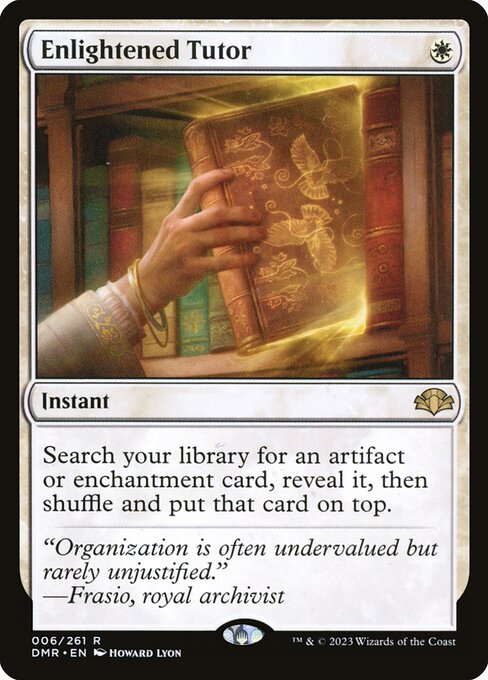
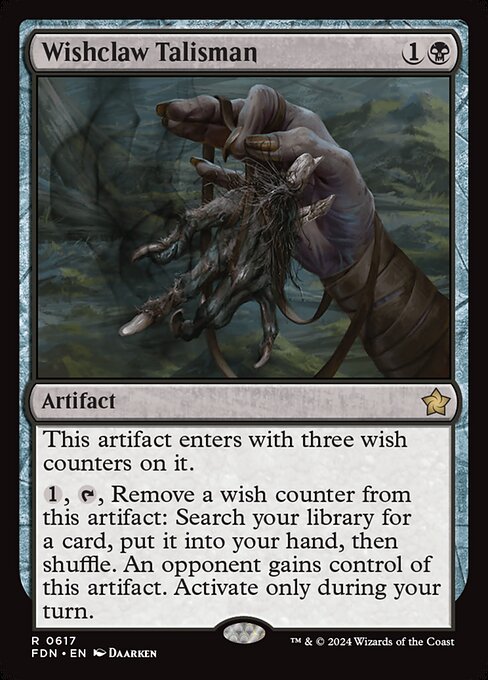
Goblin Engineer tutors key combo pieces like Sword of the Meek or Ashnod's Altar directly to hand while providing sacrifice fodder. Wishclaw Talisman offers additional tutoring for combo pieces, and both artifacts can be sacrificed to various outlets for value.

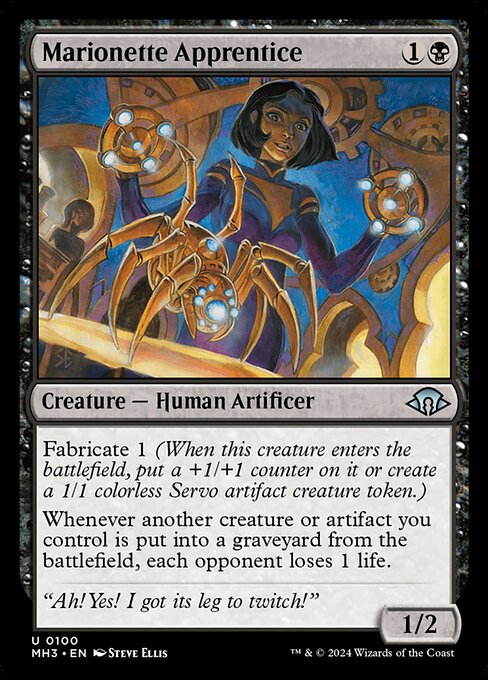
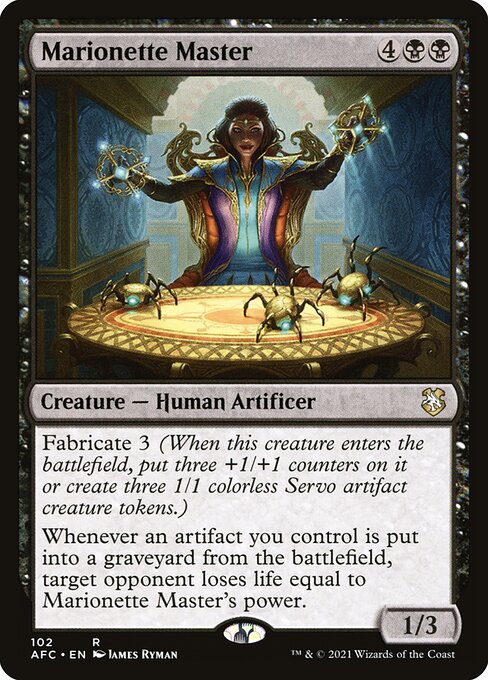
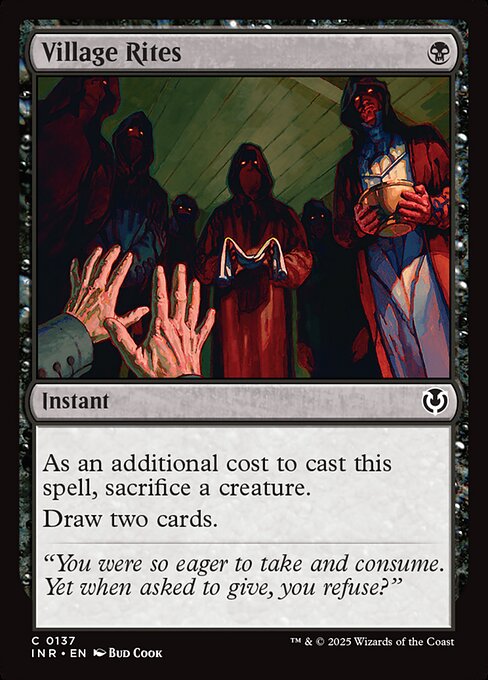
Dockside creates explosive Treasure bursts for mana acceleration, then can be sacrificed to Village Rites for card draw. Marionette Apprentice drains opponents whenever artifacts are sacrificed, turning your combo pieces into direct damage while providing additional sacrifice value.

Opening Hand

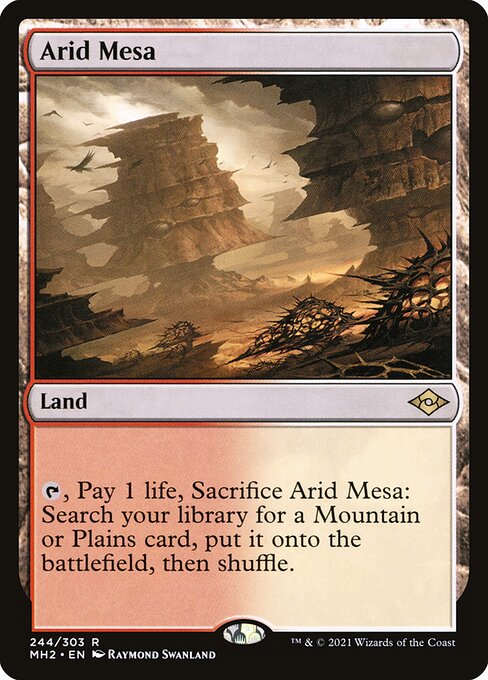
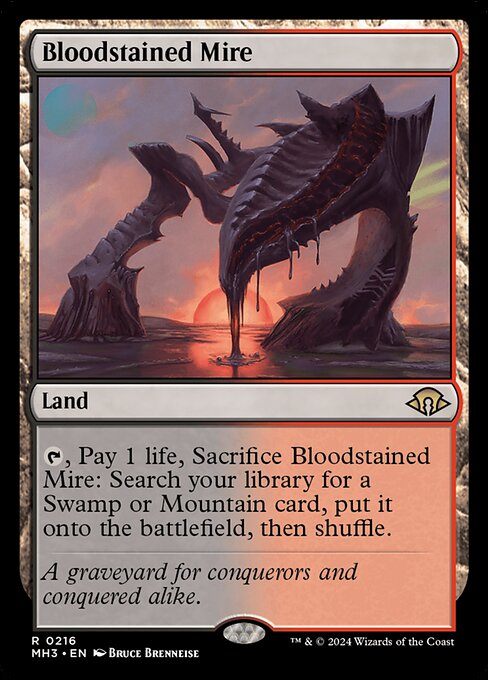
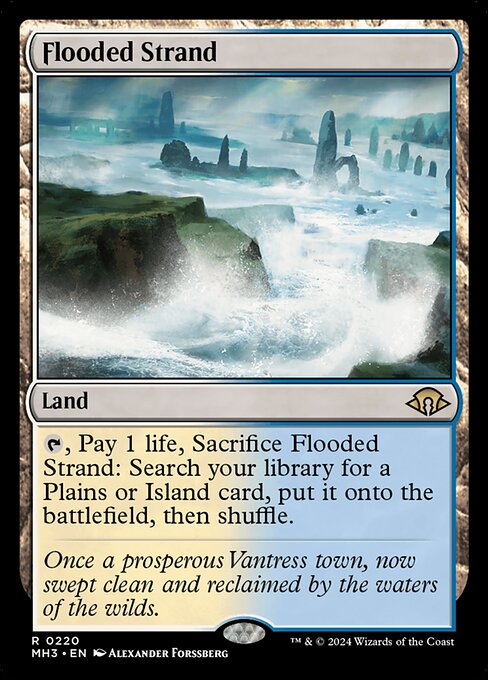
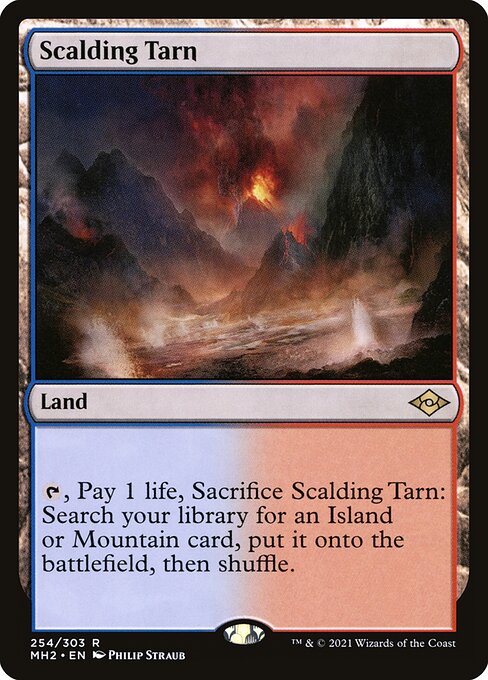
Keep hands with 2-3 lands including Command Tower or a fetch, one mana rock (Arcane Signet strongly preferred), and either card draw or a key combo piece like Urza or Sword of the Meek. Mulligan hands without early mana acceleration or those lacking blue sources for Breya. Prioritize hands that can cast Breya on turn 4 with immediate follow-up plays, as the commander's ETB Thopters are crucial for enabling your infinite combinations. Hands with Dockside Extortionist are extremely keepable in multiplayer games, as the explosive ramp often leads to immediate combo wins.

Mana Curve

2
0
11
1
23
2
14
3
5
4
2
5
4
6
3
7+

64non-land cards · mana value distribution